How to Pack and Store Picture Frames and Paintings

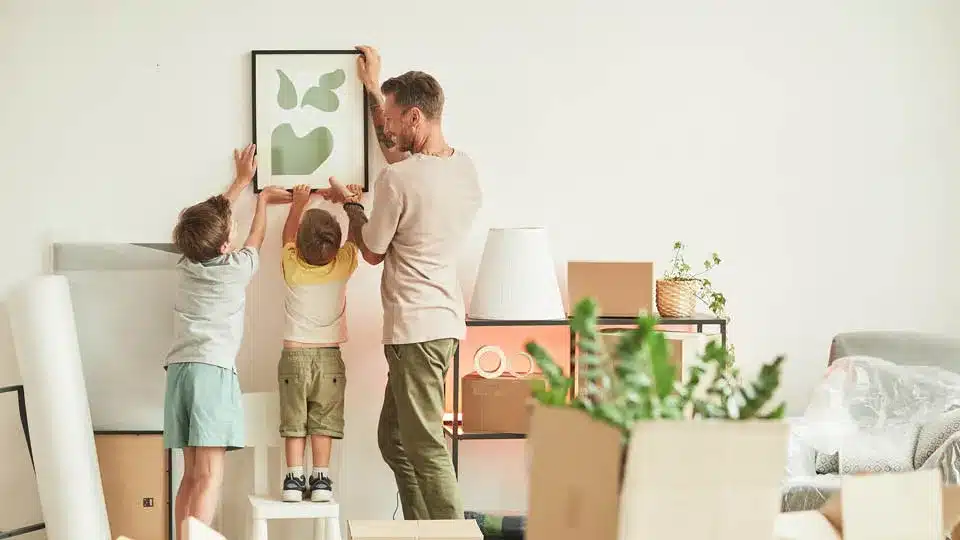
Ah, moving. A clean slate. A fresh start. A chance to start anew. It can be a time full of excitement and anticipation but also stress and anxiety. So much to do… so much to plan… so much to pack! If you’re freaking out about how you’re going to manage to get your entire life neatly sorted into a big pile of boxes, don’t worry, Mini Mall Storage has your back. From our complete moving guide to our post about moving trucks vs. portable containers, along with our moving, packing, and storage supplies—we’re here to help you break the “big move” into more manageable steps. Today, let’s focus on one of the simpler tasks: packing up your pictures and frames. Let’s go!
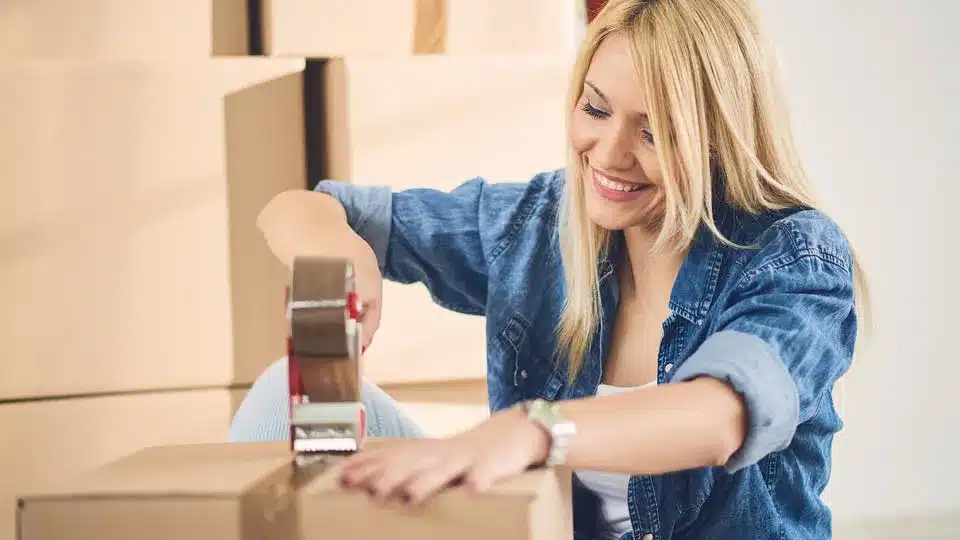
Step 1: Gather Supplies
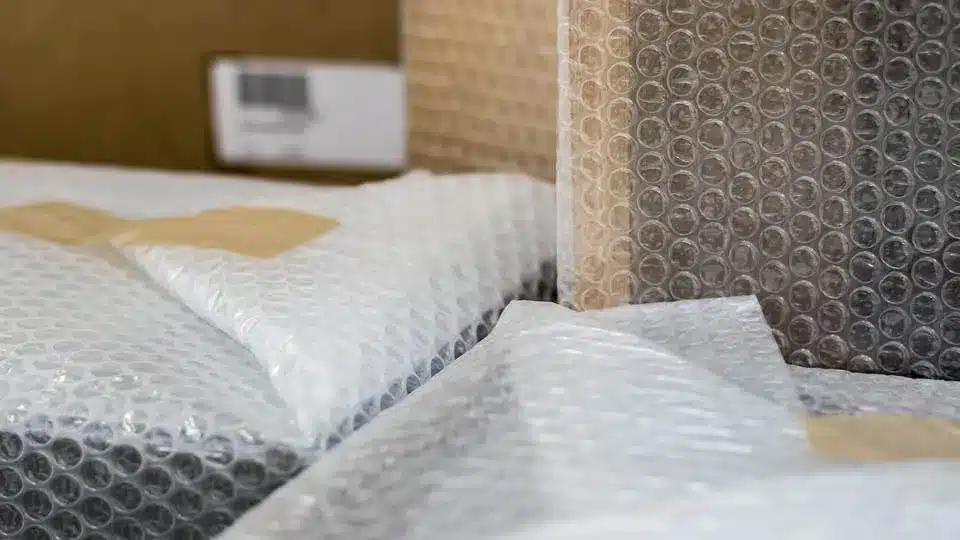
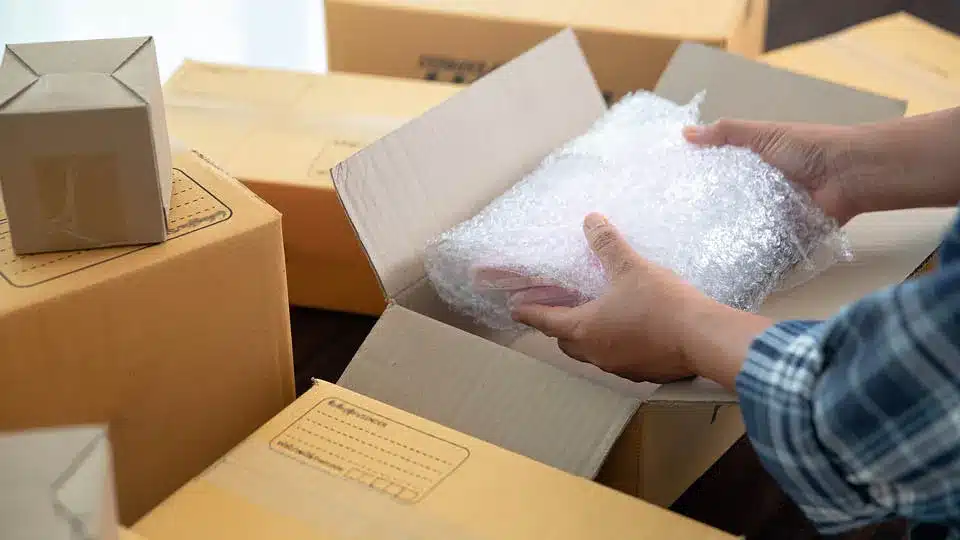
Before you start taking all the Picassos and Van Goghs off the wall, gather some essentials first to treat each of your creative treasures with the care they deserve. Some supplies we recommend include:
Packing paper or bubble wrap
Packing tape
Stretch wrap
Cardboard or foam corners
Sturdy moving or picture boxes
Marker for labelling boxes
Step 2: Assess your inventory
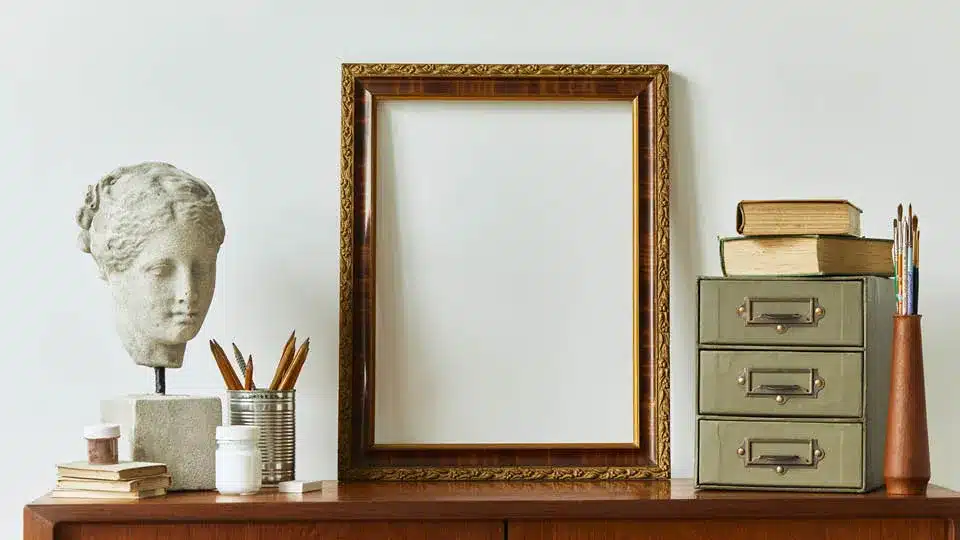
Take stock of your paintings and frames to strategize your packing approach. For frames with glass, plan for separate packing or, at the very least, individual wrapping. For canvases of differing sizes, nest them together for added reinforcement and protection and to save space.
Step 3: Wrap Each Frame Individually
Even if you are packing them within a larger box, glass frames should be wrapped individually to give them a nice layer of protective padding. Simply lay down a sheet of acid-free packing paper or bubble wrap on a flat surface, place the picture or frame face down on the paper, and tape to secure.
Step 4: Protect Corners and Edges
For frames with delicate or ornate edges, use cardboard or foam corners to provide a little extra protection. Don’t forget to wrap with additional bubble wrap or packing paper before securing the corners with tape.
Step 5: Choose the Right Box
Opt for sturdy boxes appropriate in size. Rather than stacking them on top of each other, which can increase the risk of breakage, stand pictures or frames upright. Larger frames can be packed individually. Smaller frames can be packed together in a box; just make sure it’s snug to prevent shifting. Consider adding a towel or blanket for extra cushioning and filling in any gaps in the box.
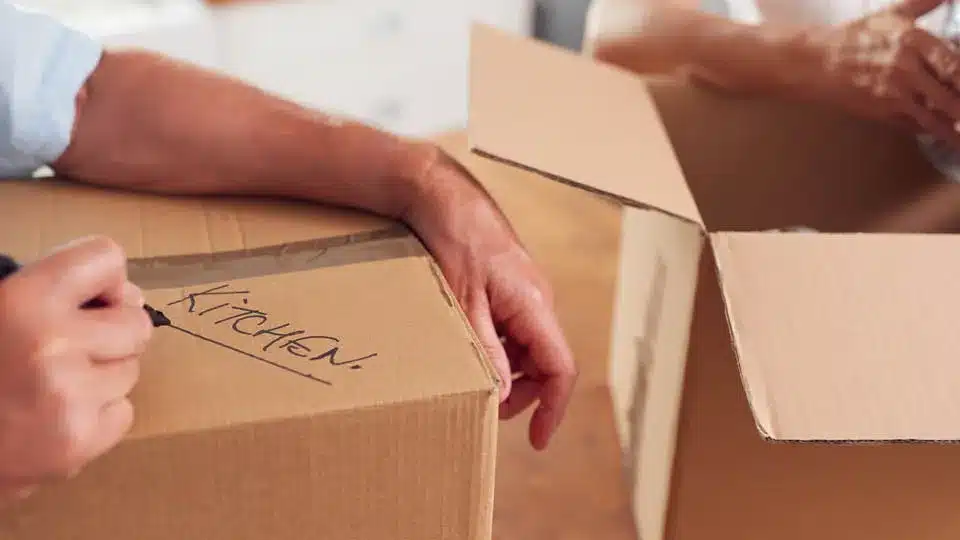
Step 6: Label the Boxes
Labelling is vital if you want to be able to find what you’re looking for later—and it can also provide good info for the movers to know too. Use arrows or “this side up” labels to indicate the correct orientation of the box and write “fragile” for anything you’re worried might break if handled too roughly.
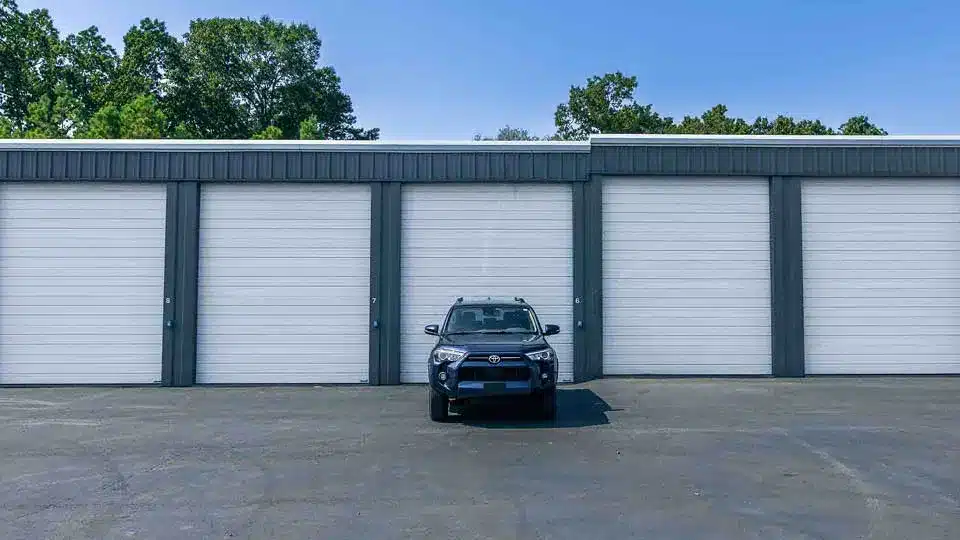
Step 7: Store in a Climate-Controlled Environment
If storing pictures or frames for an extended period, choose a climate-controlled storage unit to prevent damage from humidity, temperature fluctuations, or pests.
By following these steps, you can rest easy knowing that your pictures and picture frames have been packed safely and are ready for the big move. Then you can go back to worrying about the 1001 other little details you have to take care of. Just remember, Mini Mall Storage is here to keep your valuables safe, secure, and ready for whatever direction you take. Find a self-storage unit near you!